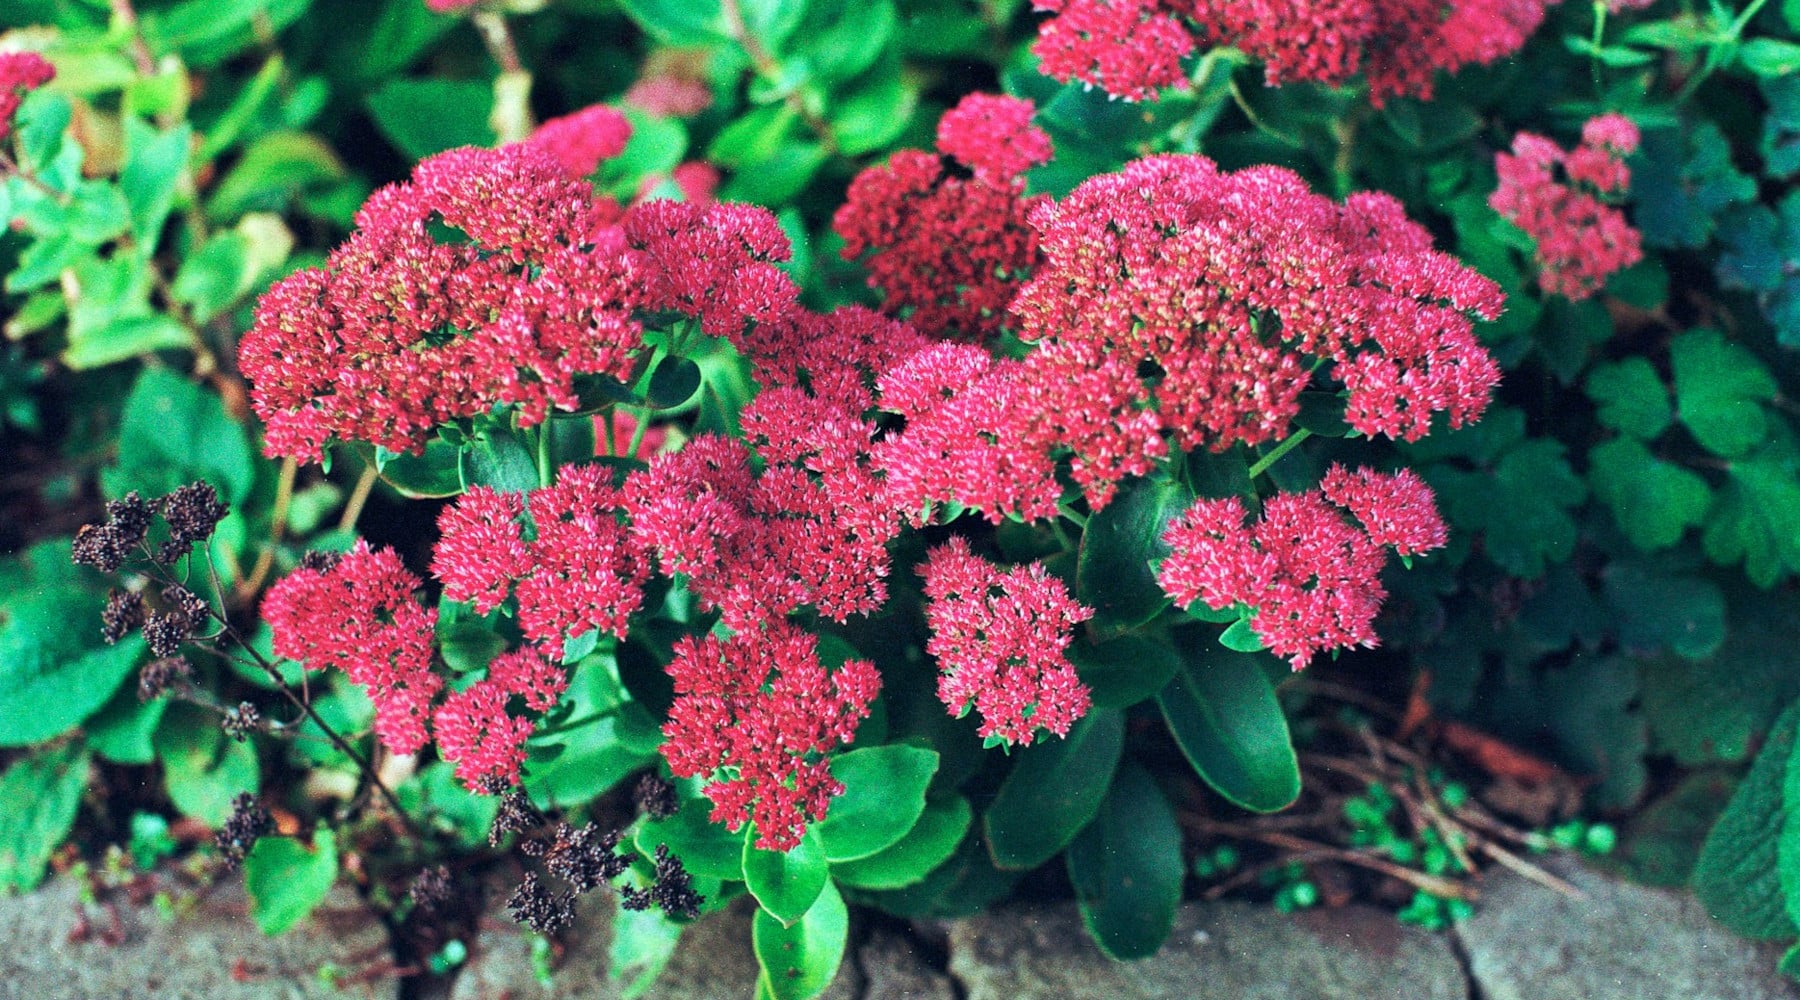

If your spring and early-summer perennials are overgrowing their spaces, blooming less, producing smaller flowers or flopping over (possibly with a hole in their centers), they’re telling you they want to be divided.
Crowded plants often struggle because they must compete for limited water, nutrients and sunlight, and the diminished airflow between them also increases their risk of contracting mold and fungal diseases.
To avoid their inevitable decline, it’s best to divide them every three to five years. As a bonus, the practice will reward you with free plants for your garden.
Not every perennial, however, appreciates division. Plants with woody crowns or deep taproots, like lavender, Russian sage, butterfly weed and Baptisia, downright resent it.
As a rule of (green) thumb, gardeners should divide late-summer and fall bloomers in the spring, just after they emerge from the ground, and spring- and early-to-mid-summer bloomers in the fall, when the plants no longer need their energy stores for active growth and flower production.
In colder climates, fall divisions should be completed four to six weeks before the ground freezes to allow sufficient time for each replanted segment’s roots to establish before dormancy.
How to do the dividing
Watch the weather report and plan the task for a cool, cloudy day. Water the plant deeply one or two days prior to give it a hydrating boost and moisten the soil.
Cut plants down, if necessary, to better expose their crowns, or the junctures where their top growth meets their roots. That will also make them easier to work with.
Plunge a garden fork into the soil, about a foot away from the base of the plant. You can use a spade instead, but I prefer a fork because it minimizes damage to the root ball.
Apply pressure to the tool’s handle to raise a section of the clump, then remove the fork, step over to the next section of root, and insert and raise it in the same manner. Repeat all around the plant until you have loosened the entire root system and can easily lift it out of the ground.
Gently remove enough soil from the roots to enable you to better see the base of the plant’s shoots.
Small plants with loose roots can often be pulled apart by hand, but this won’t likely be the case if they are already overgrown and crowded, which is why we’re here in the first place.
So, grab a second fork and place it back-to-back with the first into the center of the root clump. Pull the handles in opposite directions toward the outside of the plant until the clump separates into two pieces. Very large clumps can be divided into three or even four plants, as long as each section has healthy roots and at least three strong shoots above it.
Plant immediately
To minimize the roots’ exposure to the dehydrating air, dig holes for your new plants immediately. Better yet, prepare the holes before digging up the plants, if possible.
Make each hole wider than the clump, but only deep enough to ensure the top of the root ball lands at or very slightly above the soil line when planted.
Cover with soil and tamp firmly to remove air pockets, then water well, but don’t fertilize.
Apply a layer of mulch over the bare soil around plants to retain water, discourage weeds and reduce soil temperature fluctuations over winter.
In spring, your new, free plants will begin their second acts as healthier, more vigorous plants with plenty of room to grow.
Until the next time.
Jessica Damiano writes weekly gardening columns for The Associated Press. She publishes the Weekly Dirt Newsletter. Sign up here for weekly gardening tips and advice.
By Jessica Damiano, Associated Press
